.gif)
.gif)

The demo video link is published at https://drive.google.com/file/d/1LMpycsC-qMtw3NhOV_5KMmnzrUuYepJs/view?usp=drive_link.
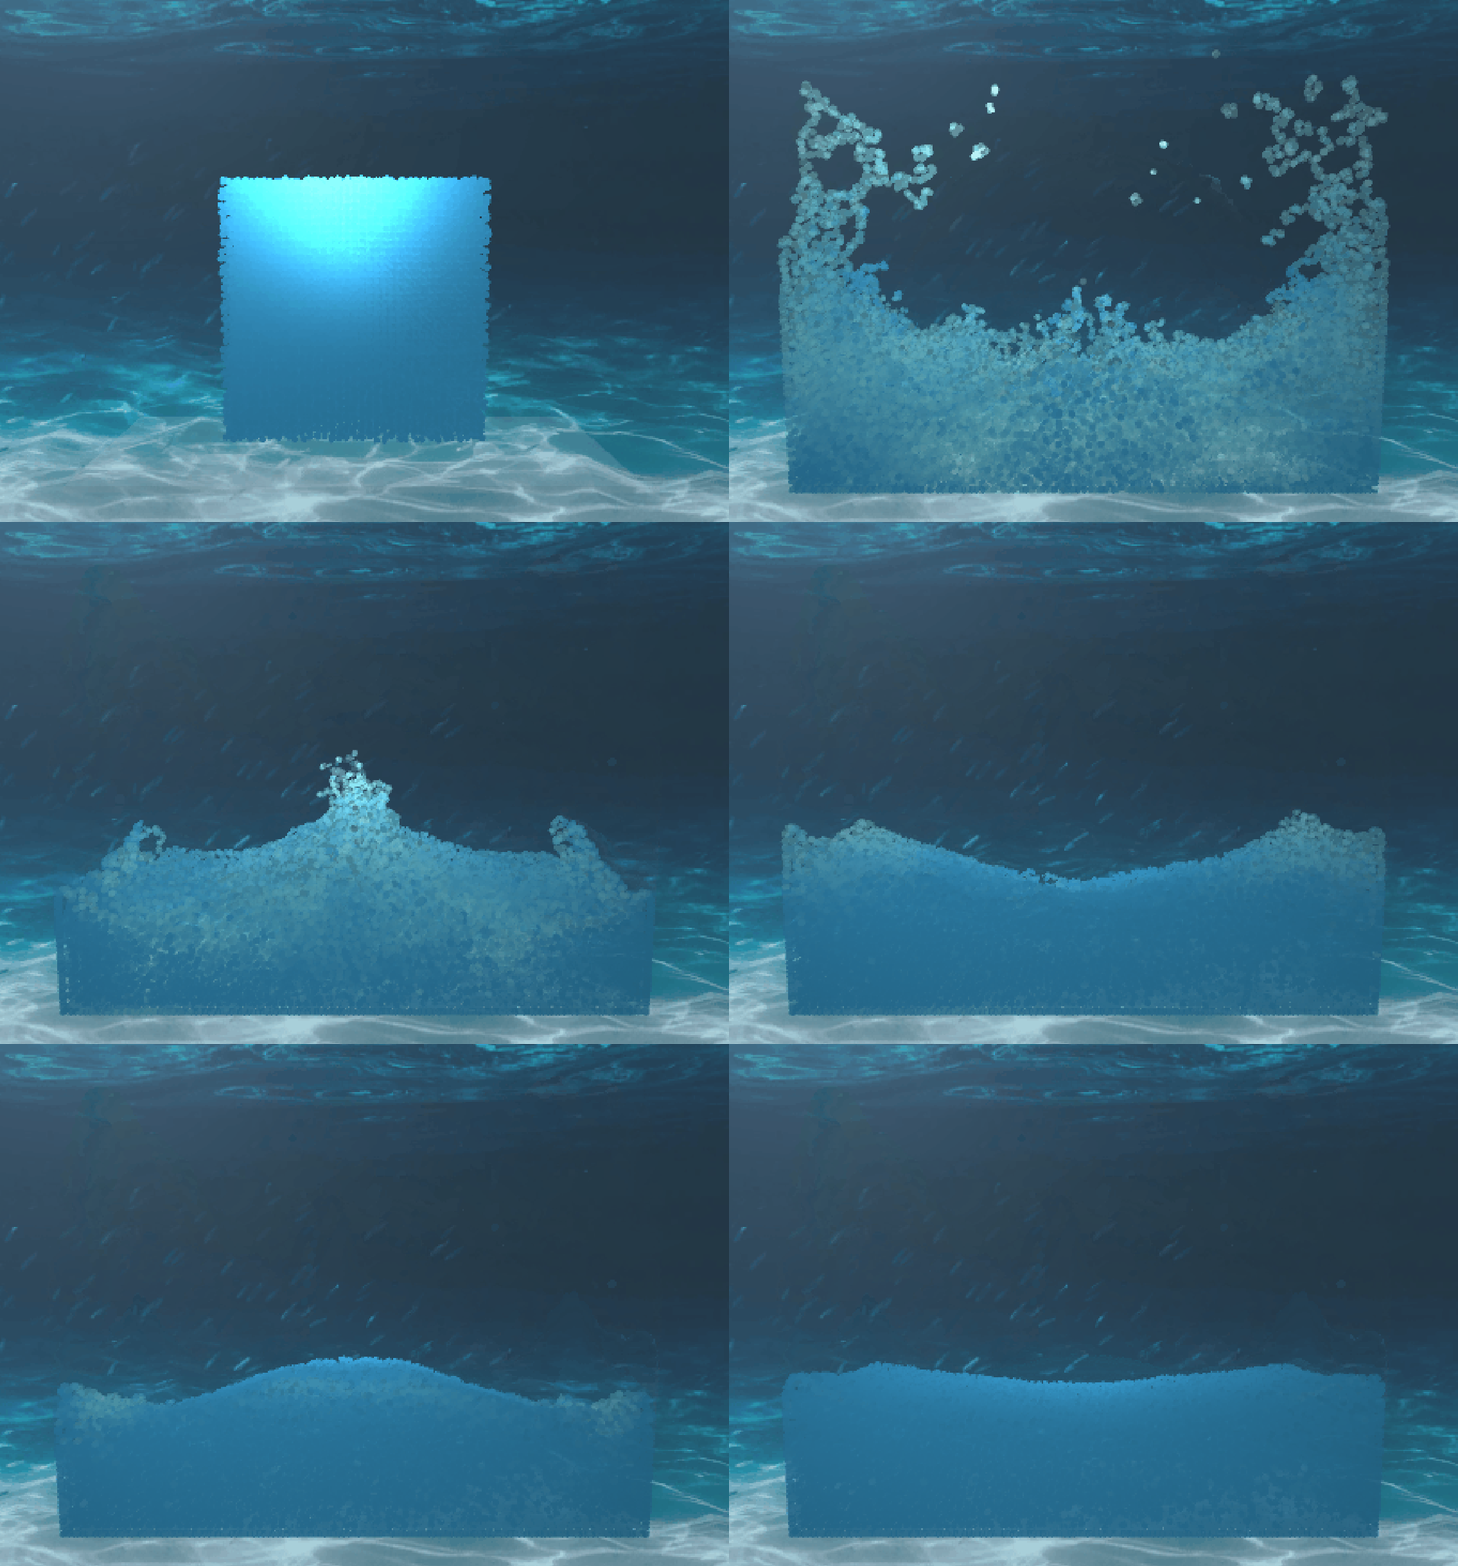
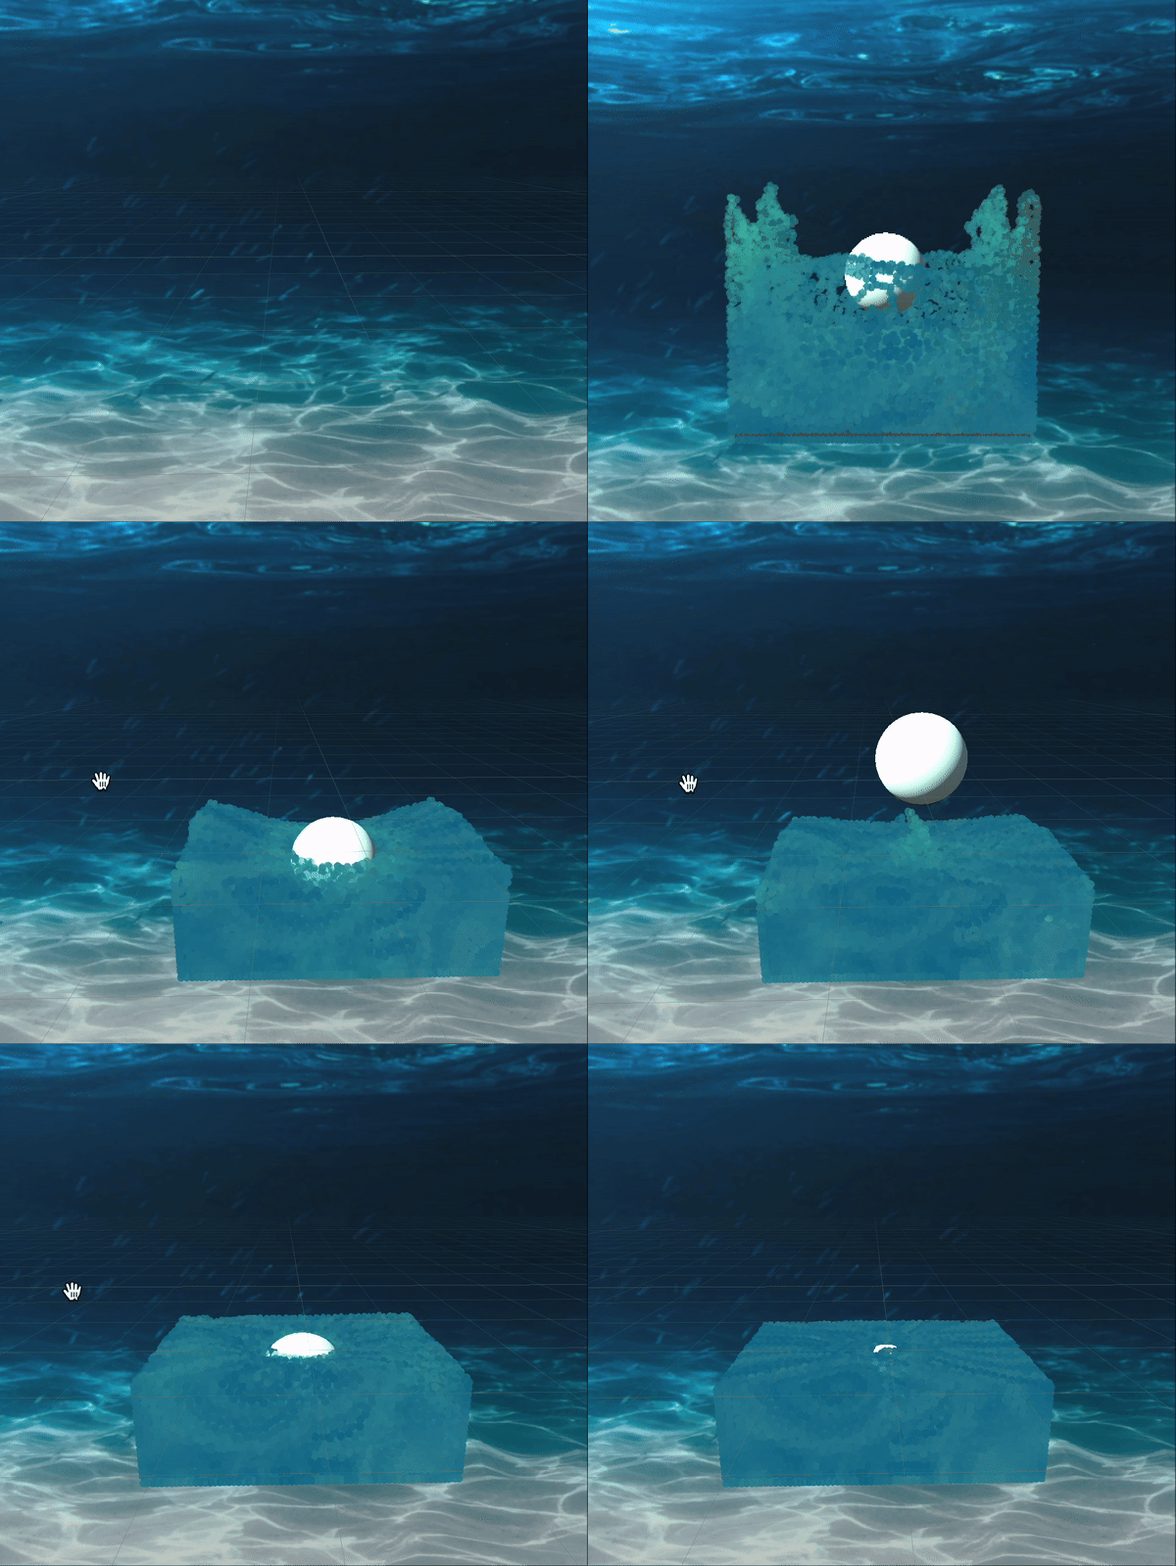
In this project, our group, building on a tutorial Simulating Fluids, will simulate the fluid within a tank, and then we will simulate the real-case scenario when a ball falls into and interacts with the fluid (which many liquid drops will bounce out).We have implemented the fluid in a more vivid and real way, as well as the simulation of the interaction after the ball drops and fluid particle splashed.
In our water simulation project, the Spawner3D class is crucial for generating the initial set of particles that populate the simulation space. This section will cover how the Spawner3D class functions and the key interactions between particles that drive the realistic simulation of fluids.
The Spawner3D class initializes particles within a cubic volume, centered at a specified centre and sized according to size. The numParticlesPerAxis defines how densely particles are placed along each axis, resulting in a total of numParticlesPerAxis3 particles. Properties such as initialVel set the initial velocity of particles, and jitterStrength introduces randomness to particle placement, enhancing realism by preventing uniform spacing.
The ’GetSpawnData’ Method computes the initial positions and velocities for each particle. It employs a three-dimensional nested loop, iterating over each axis to calculate the position of particles based on their relative location in the grid. The addition of a random jitter (UnityEngine.Random.insideUnitSphere * jitterStrength) to each particle’s position helps simulate a more natural particle distribution. Each particle is assigned the initial velocity specified by initialVel.
The ”Simulation3D” class manages the simulation’s lifecycle, handling updates per frame and integrating physical interactions between particles. It employs simulation settings like ”timeScale” for controlling simulation speed and ”fixedTimeStep” to toggle between fixed and variable time steps. Physics properties such as ”gravity” and ”collisionDamping” affect how particles interact with gravity and how they respond to collisions.
Particle interactions are governed by compute shaders that calculate physical forces acting on each particle. This includes forces due to pressure, viscosity, and external influences like gravity. The system uses spatial hashing, implemented in the compute shader, to efficiently manage and query particle neighborhoods, essential for scaling the simulation to a large number of particles.
The ”FluidSim3D.compute” shader script updates particle states including position and velocity. The shader functions handle different aspects of the simulation: ”UpdatePositions” updates particle positions based on velocities, ”ResolveCollisions” ensures particles remain within bounds by adjusting positions and velocities upon collisions, and ”ResolveSphereCollision” dynamically adjusts interactions when particles collide with a moving sphere.
After the simulation model for particles and the interaction between them are established, we need to elevate the performance when we need to simulate large number of particles, otherwise the animation will not go smooth. We do the performance improvement in the process of calculating densities and pressure forces for a certain particle, which we avoid looping over all particles that lie outside the smoothing radius, as they contribute nothing to the calculation.
To achieve this, we partition the space of particles into grids, with certain number of particles lying inside each grid cells, and the size of the grid cells is set to be the ”smoothing radius”. As a result, we only need to consider particles lying inside the 3*3 grids of cells around the center of circle when calculating the interaction forces for a certain particle.
But we want to convert the whole simulation to a compute shader at some point, and on the GPU we do need to specify ahead of time how much memory we’re going to use. A GPU-friendly approach is adopted from the paper, so that we don’t need to know the dimensions of the grid ahead of time, meaning that particles can travel anywhere in the world, and it’ll still work. We first create a single array with size to be maximum number of particles within the grid map.
For each particle in the array, we calculate the coordinate of the grid cell it is in. We need to do hashing in order to turn the coodinate of the cell (within the grid) into a single number, and also get the key of this certain coordinate (”cell key”), for example, do modulo by the size of array. Then, each particle within the array is associated with a ”cell key” it is in. To efficiently loop over the array, we want to sort the array based on ”cell key” in order to let the particles within the same grid cell (same ”cell key”) staying next to each other in the array. The new sorted array is called spatialLookup. Another array called startIndices is established, with element at position i to be the index of first element in array spatialLookup that is in ”cell key” with value i. We can use the array startIndices to quickly locate all the particles in spatialLookup that we are interested in (particles storing in a particular grid cell). To avoid the problem of locating particles in different grid cells but hash to the same ”cell key”, we will do the distance checking for 2 cells to ensure they are exactly in the same grid cell and inside the smoothing radius.
The UpdateSpatialLookup() function will update the spatialLookup array whenever the points moved, which include creating the spatialLookup using hashing, sorting it based on cell key, and generate the startIndices. The ForeachPointWithinRadius() function will find all of the (particle) points within the smoothing radius of a certain particle. It will loop over all the 3*3 grid cells around the particle and process the particle information in these grid cells.
Now, the simulation of large number of particles can be done smoothly, but it is totally in chaos(random movements). We can optimize this by predicting the next position of particle based on current velocity and external forces , then use the predicted position for calculating densities and pressureForce after deltaTime. In the particle rendering code, we visualize the speed of particle with color.
We added one sphere into our scenario and it will fall from some height and splash the fluid particles we implemented. When it collides with the floor, it will also be applied with an opposite force which forces the sphere to bounce.
In one GPU-processed Unity script file Fluid3d.compute, we added one function ResolveSphereCollision to handle the interaction between sphere and particles. When the sphere is in motion, its effective collision radius can increase based on its speed, enhancing the realism of interactions by accounting for motion blur effects. To be consistent with our intuition, the sphere would be applied with force by every fluid surrounding it, so we basically achieve this by converting it into interaction on three dimensions of this sphere. On the other hand, as the sphere encounters particles, it applies a force that pushes them away, proportional to both the penetration depth and the sphere’s velocity.
Additionally, the sphere’s collision with the boundaries of its container is managed by adjusting its position and inverting its velocity upon contact with the edges, damping its speed to simulate energy loss. If the sphere’s velocity falls below a threshold, it is effectively halted to prevent unnecessary computations when the motion is negligible.
With the original shader, the particles display like individual balls, which was not we wanted. So we made some edition to make them seem more like fluid.
We considered introducing transparent rendering and changing the alpha value of the particles according to their speed, and it looks good because the area with less particles look more transparent. We changed the render queue into Transparent and used the Blend command Blend SrcAlpha OneMinusSrcAlpha in ShaderLab to enable transparent rendering.
We also want to show the effect of light. Because the particles are created after the programme started, they cannot be rendered by the light in the scene. So we have to calculate the light in the shader. We then referenced the shader part in assignment 4 to add illumination to the fluid. We chose Blinn-Phong shading, calculating the diffuse and mirror reflection. We also adjusted the colour map to make it more close to real water.
At last, we created some wavy effect of the water. While dragging the scene, the pattern of the water surface waves. We implemented this by generating a randomly distorted texture map and using the camera direction as parameters to sample colors from the texture map.

.gif)
.gif)
